本篇文章用于配置WSL(ubuntu)中的环境与开发
本文章使用到了如下工具及环境
环境要求
需要电脑已经拥有WSL2及Ubuntu20.04(仅在该版本测试)
目录
WCH-Link篇 {#WCH-Link篇}
本篇将指导你把WCH-Link绑定到Ubuntu
Windows安装usbip {#Windows安装usbip}
打开usbip_win最新的发行版链接
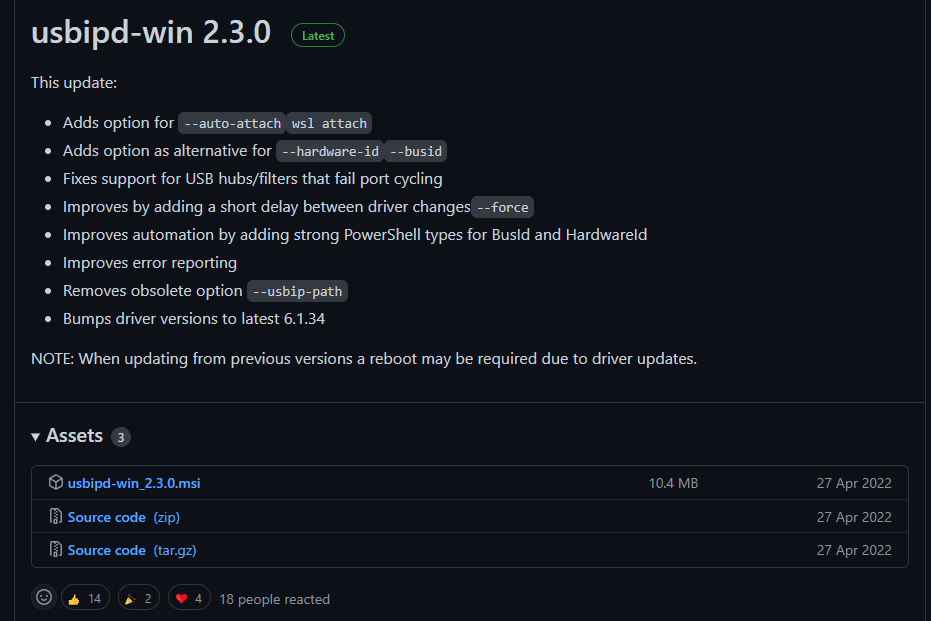
下载最新发行版并安装
在命令行执行以下命令查看是否安装成功
usbipd wsl list
成功如图,这是插入WCH-Link的效果

注意WCH-Link的BUSID,后面需要用到
Ubuntu安装usbip {#Ubuntu安装usbip}
在ubuntu终端中执行以下代码
sudo apt install linux-tools-5.4.0-77-generic hwdata
sudo update-alternatives --install /usr/local/bin/usbip usbip /usr/lib/linux-tools/5.4.0-77-generic/usbip 20
<u>注意:apt仅测试官方源可用,国内源大多不可用,该语句仅在 Ubuntu20.04 运行成功</u>
<u>当安装失败时参考连接</u>
将WCH-Link映射到Ubuntu {#将WCH-Link映射到Ubuntu}
打开power Shell(需要管理员),执行以下语句
usbipd wsl attach --busid 4-1
该语句将WCH-Link绑定到默认的ubuntu发行版,4-1填你的WCH-Link BUSID
参考微软官方教程
MRS_Toolchain篇 {#MRS_Toolchain篇}
本篇指导你下载并安装MRS_Toolchain工具
下载MRS_Toolchain {#下载MRS_Toolchain}
使用wget命令把MRS_Toolchain拉起下来
建议从官网获得最新连接
wget http://file.mounriver.com/tools/MRS_Toolchain_Linux_x64_V1.50.tar.xz
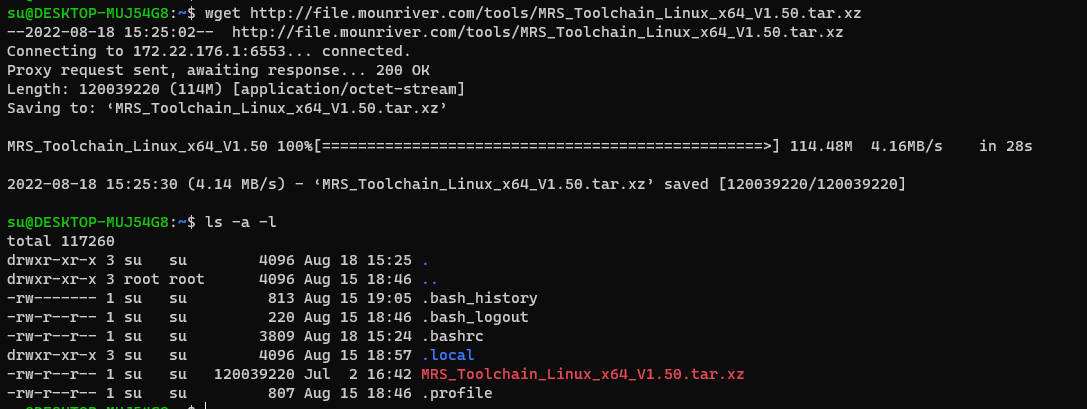
安装MRS_Toolchain {#安装MRS_Toolchain}
将文件解压到目标文件夹(我这里是"~/MRS")
mkdir MRS
tar -xf MRS_Toolchain_Linux_x64_V1.50.tar.xz -C MRS
cd  MRS
ls
解压后如图

因为编译不允许空格路径,所以将"RISC-V Embedded GCC" 重命名为 "RISC-V_Embedded_GCC"
mv "RISC-V Embedded GCC" "RISC-V_Embedded_GCC"
安装WCH-Link驱动 {#安装WCH-Link驱动}
进入beforeinstall目录下执行start.sh
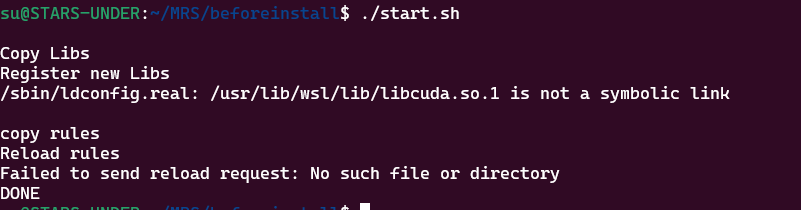
可能会遇到此问题,参考这边文章的解决方法
解决问题后再次执行,成功如图
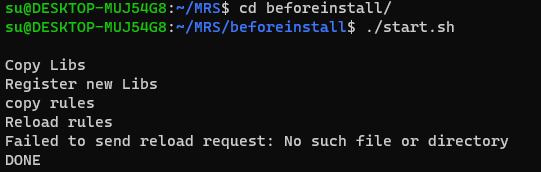
最后的错误可以忽略,是因为没有图形化界面的问题
至此,WCH-Link的驱动就安装成功了
VSCode及插件配置篇 {#VSCode及插件配置篇}
首先安装WSL扩展并连接到Ubuntu
WSL扩展
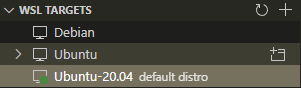
连接到Ubuntu-20.04
EIDE安装及配置 {#EIDE安装及配置}
本篇指导安装EIDE插件及相关环境
安装.NET 6.0 runtime(EIDE环境) {#安装.NET}
在终端中执行以下命令
#添加源
wget https://packages.microsoft.com/config/ubuntu/22.04/packages-microsoft-prod.deb -O packages-microsoft-prod.deb
sudo dpkg -i packages-microsoft-prod.deb
rm packages-microsoft-prod.deb

#安装net 6.0 runtime
sudo apt-get update && \
  sudo apt-get install -y aspnetcore-runtime-6.0
安装EIDE插件 {#安装EIDE插件}
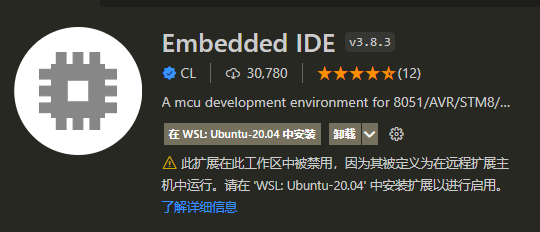
注意:安装后可能报错安装失败,这时需要从官方下载包重新安装
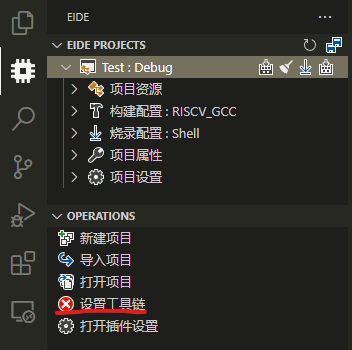
设置RISC-V工具链 {#设置RISC-V工具链}
点击"设置工具链"
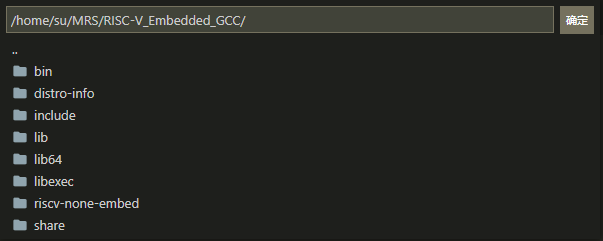
在选项中选择

输入重命名后RISC-V-GCC编译器的路径(图片路径仅供参考)
新建CH32V103工程 {#新建工程}
安装完成后选择侧边栏的EIDE图标
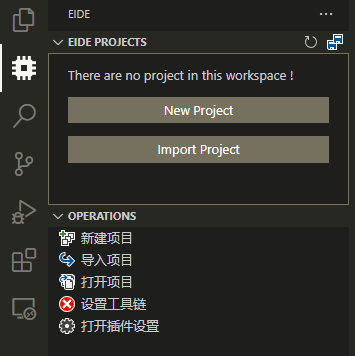
选择新建项目
graph LR
从远程仓库获取 --> MCU
MCU -->  WCH
WCH --> RISC-V
RISC-V --> ch32v103
ch32v103 --> 输入项目名称
输入项目名称 --> 选择项目地址
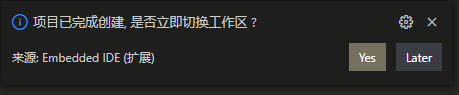
完成后右下角会弹出如图弹框,点击Yes后打开项目
此时就可以进行编译了,单击编译按钮或者使用<kbd>F7</kbd>开始编译.如图即为成功
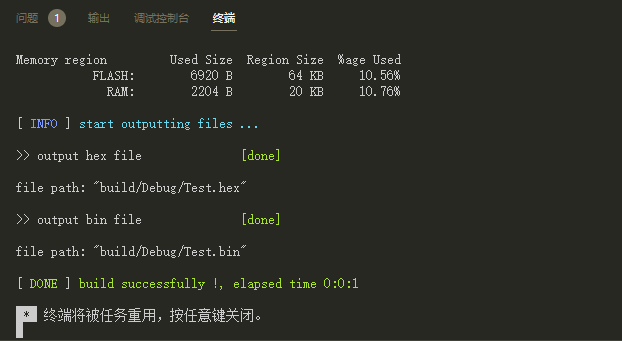
ps:Linux环境编译真的超快的(对比Windows)
设置EIDE快捷下载 {#设置EIDE快捷下载}
EIDE自带一个下载功能,使用此功能可以快速的将程序下载入单片机
打开根目录下的 README.md 里面有Linux脚本的说明
我们在烧录配置中更改脚本
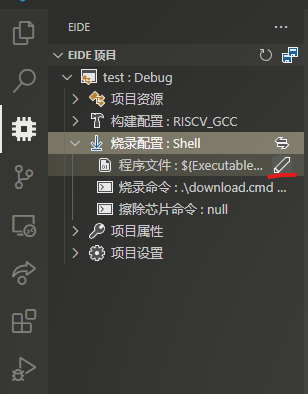
将命令改为
./download.linux.sh ${programFile}
这时编辑 download.linux.sh 脚本文件,在 openocd 前面加上它所在的路径
//更改前
openocd -f ./tools/wch-riscv.cfg -c init -c halt -c "flash erase_sector wch_riscv 0 last " -c "program $1" -c "verify_image $1" -c wlink_reset_resume -c exit
//更改前后
~/MRS/OpenOCD/bin/openocd -f ./tools/wch-riscv.cfg -c init -c halt -c "flash erase_sector wch_riscv 0 last " -c "program $1" -c "verify_image $1" -c wlink_reset_resume -c exit
使用组合键 <kbd>Chrl</kbd> + <kbd>Alt</kbd> + <kbd>D</kbd> 启动下载程序
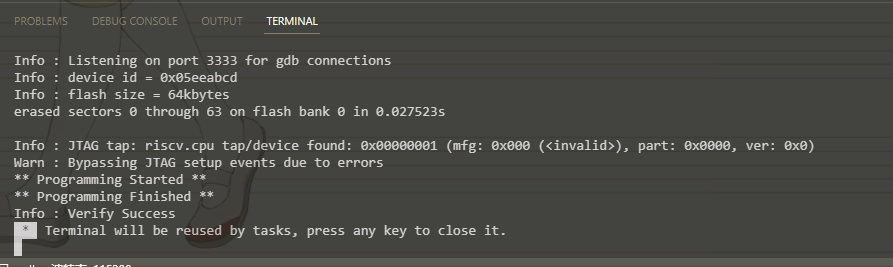
成功如图
安装Cortex-Debug插件 {#安装Cortex-Debug插件}
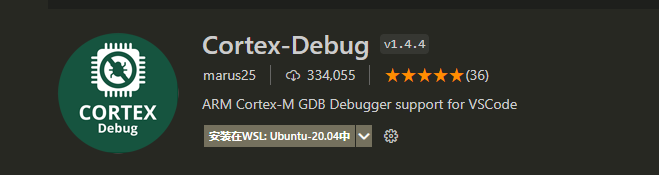
在Ubuntu上安装Cortex-Debug插件
设置 GDB && OpenOCD 路径 {#设置GDB&&OpenOCD路径}
进入 文件->首选项->设置 并在搜索框中输入 gdb,并切换到远程面板
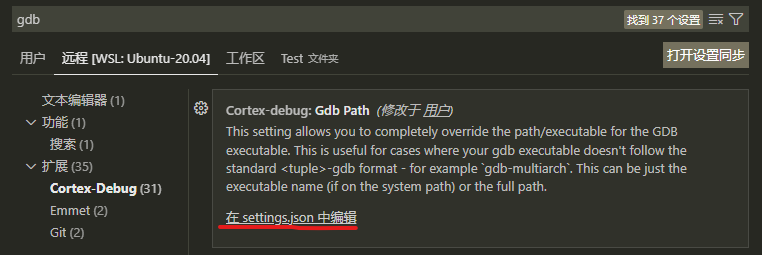
进入settings.json中编辑路径,将我的路径替换为你的路径
    "cortex-debug.gdbPath": "/home/su/MRS/RISC-V_Embedded_GCC/bin/riscv-none-embed-gdb",
    "cortex-debug.openocdPath": "/home/su/MRS/OpenOCD/bin/openocd",
注意,此处只能输入绝对路径
调试篇
本篇指导如何进行调试
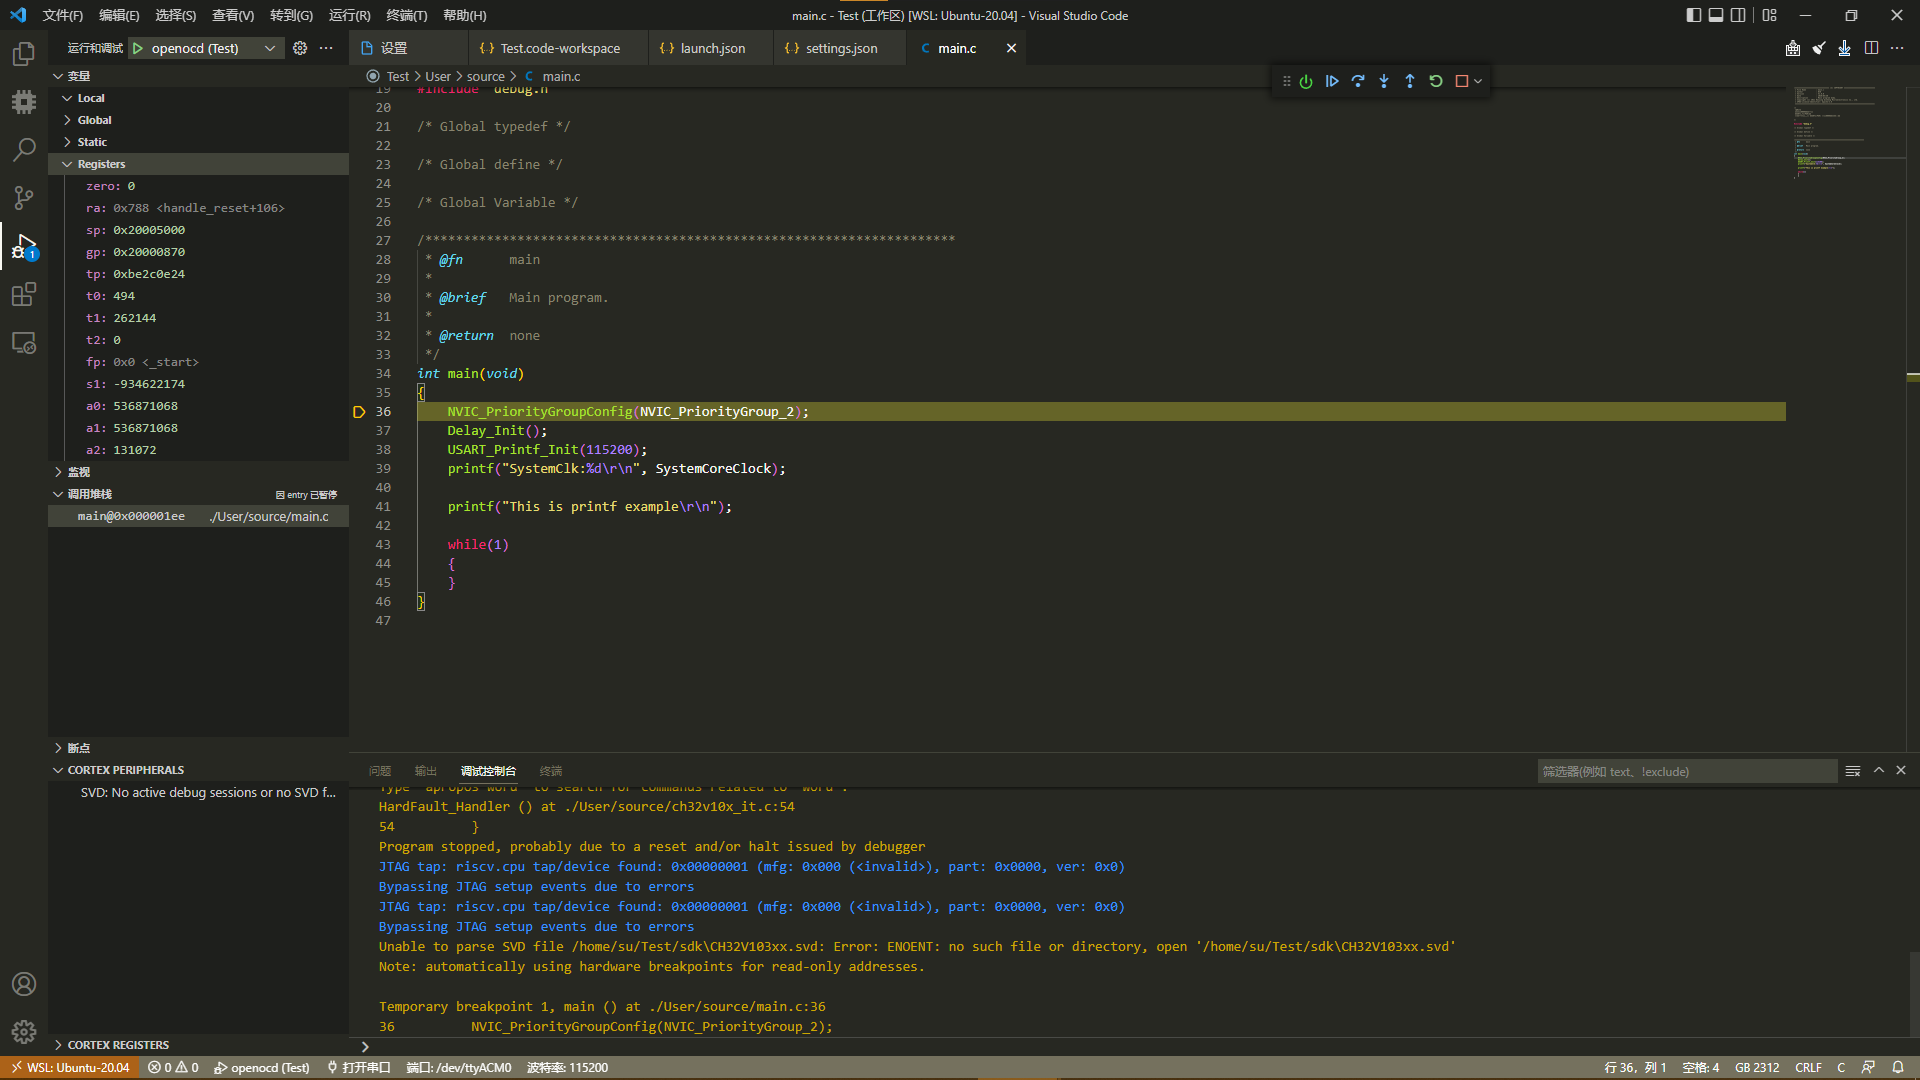
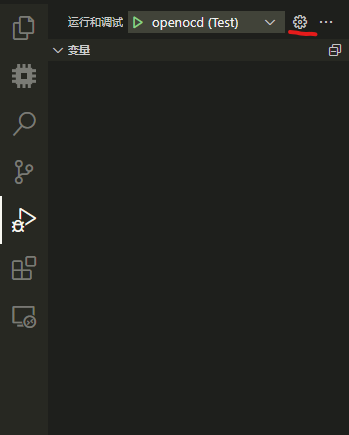
修复SVD文件路径 {#修复SVD文件路径}
由于模板文件是在Windows环境下编写的,svd文件的路径配置与linux不兼容.这里进行修复
在调试栏点击设置按钮
//原在Windows下的路径
"svdFile": "sdk\\CH32V103xx.svd",
//更改为以下路径
"svdFile": "sdk/CH32V103xx.svd",
再次点击调试按钮,可以看见SVD正常加载了
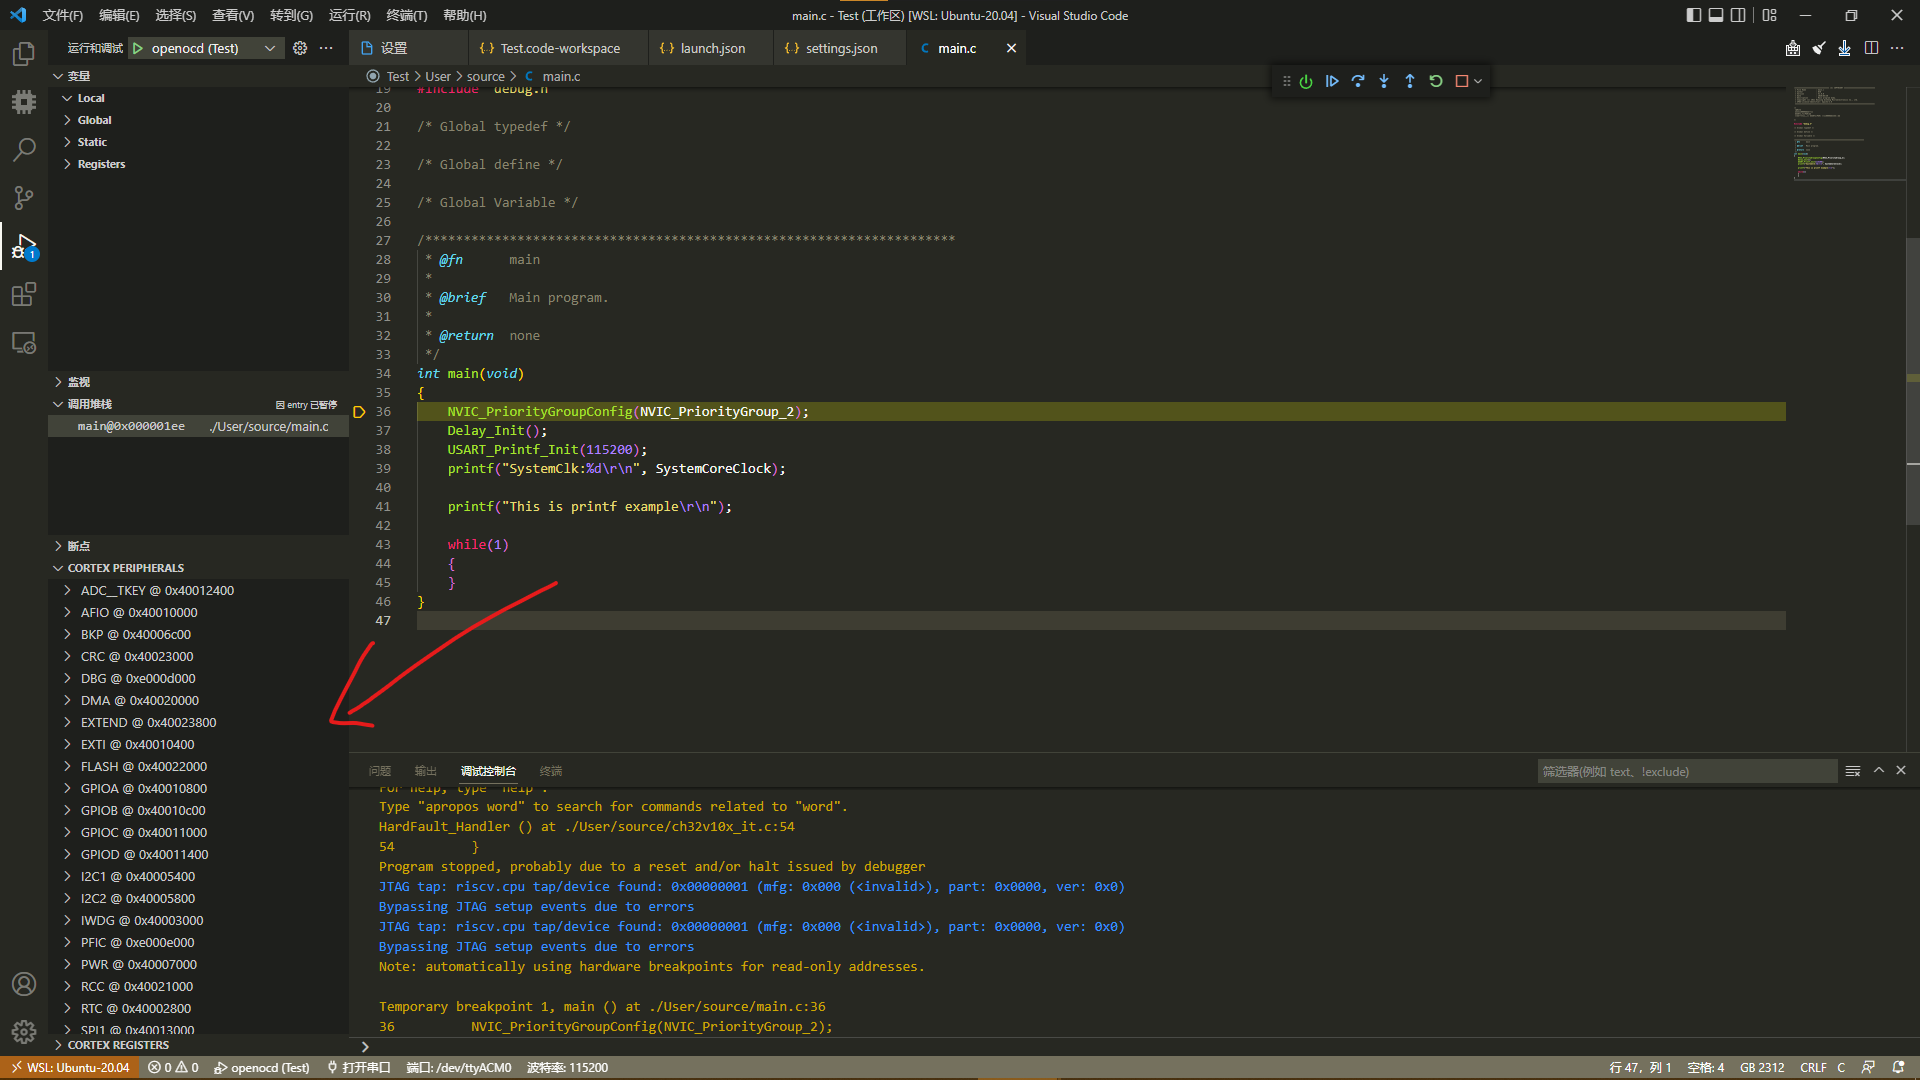
开始愉快的调试吧
遇到问题,欢迎骚扰
文章在博客园同步发表
EOF {#EOF}